-
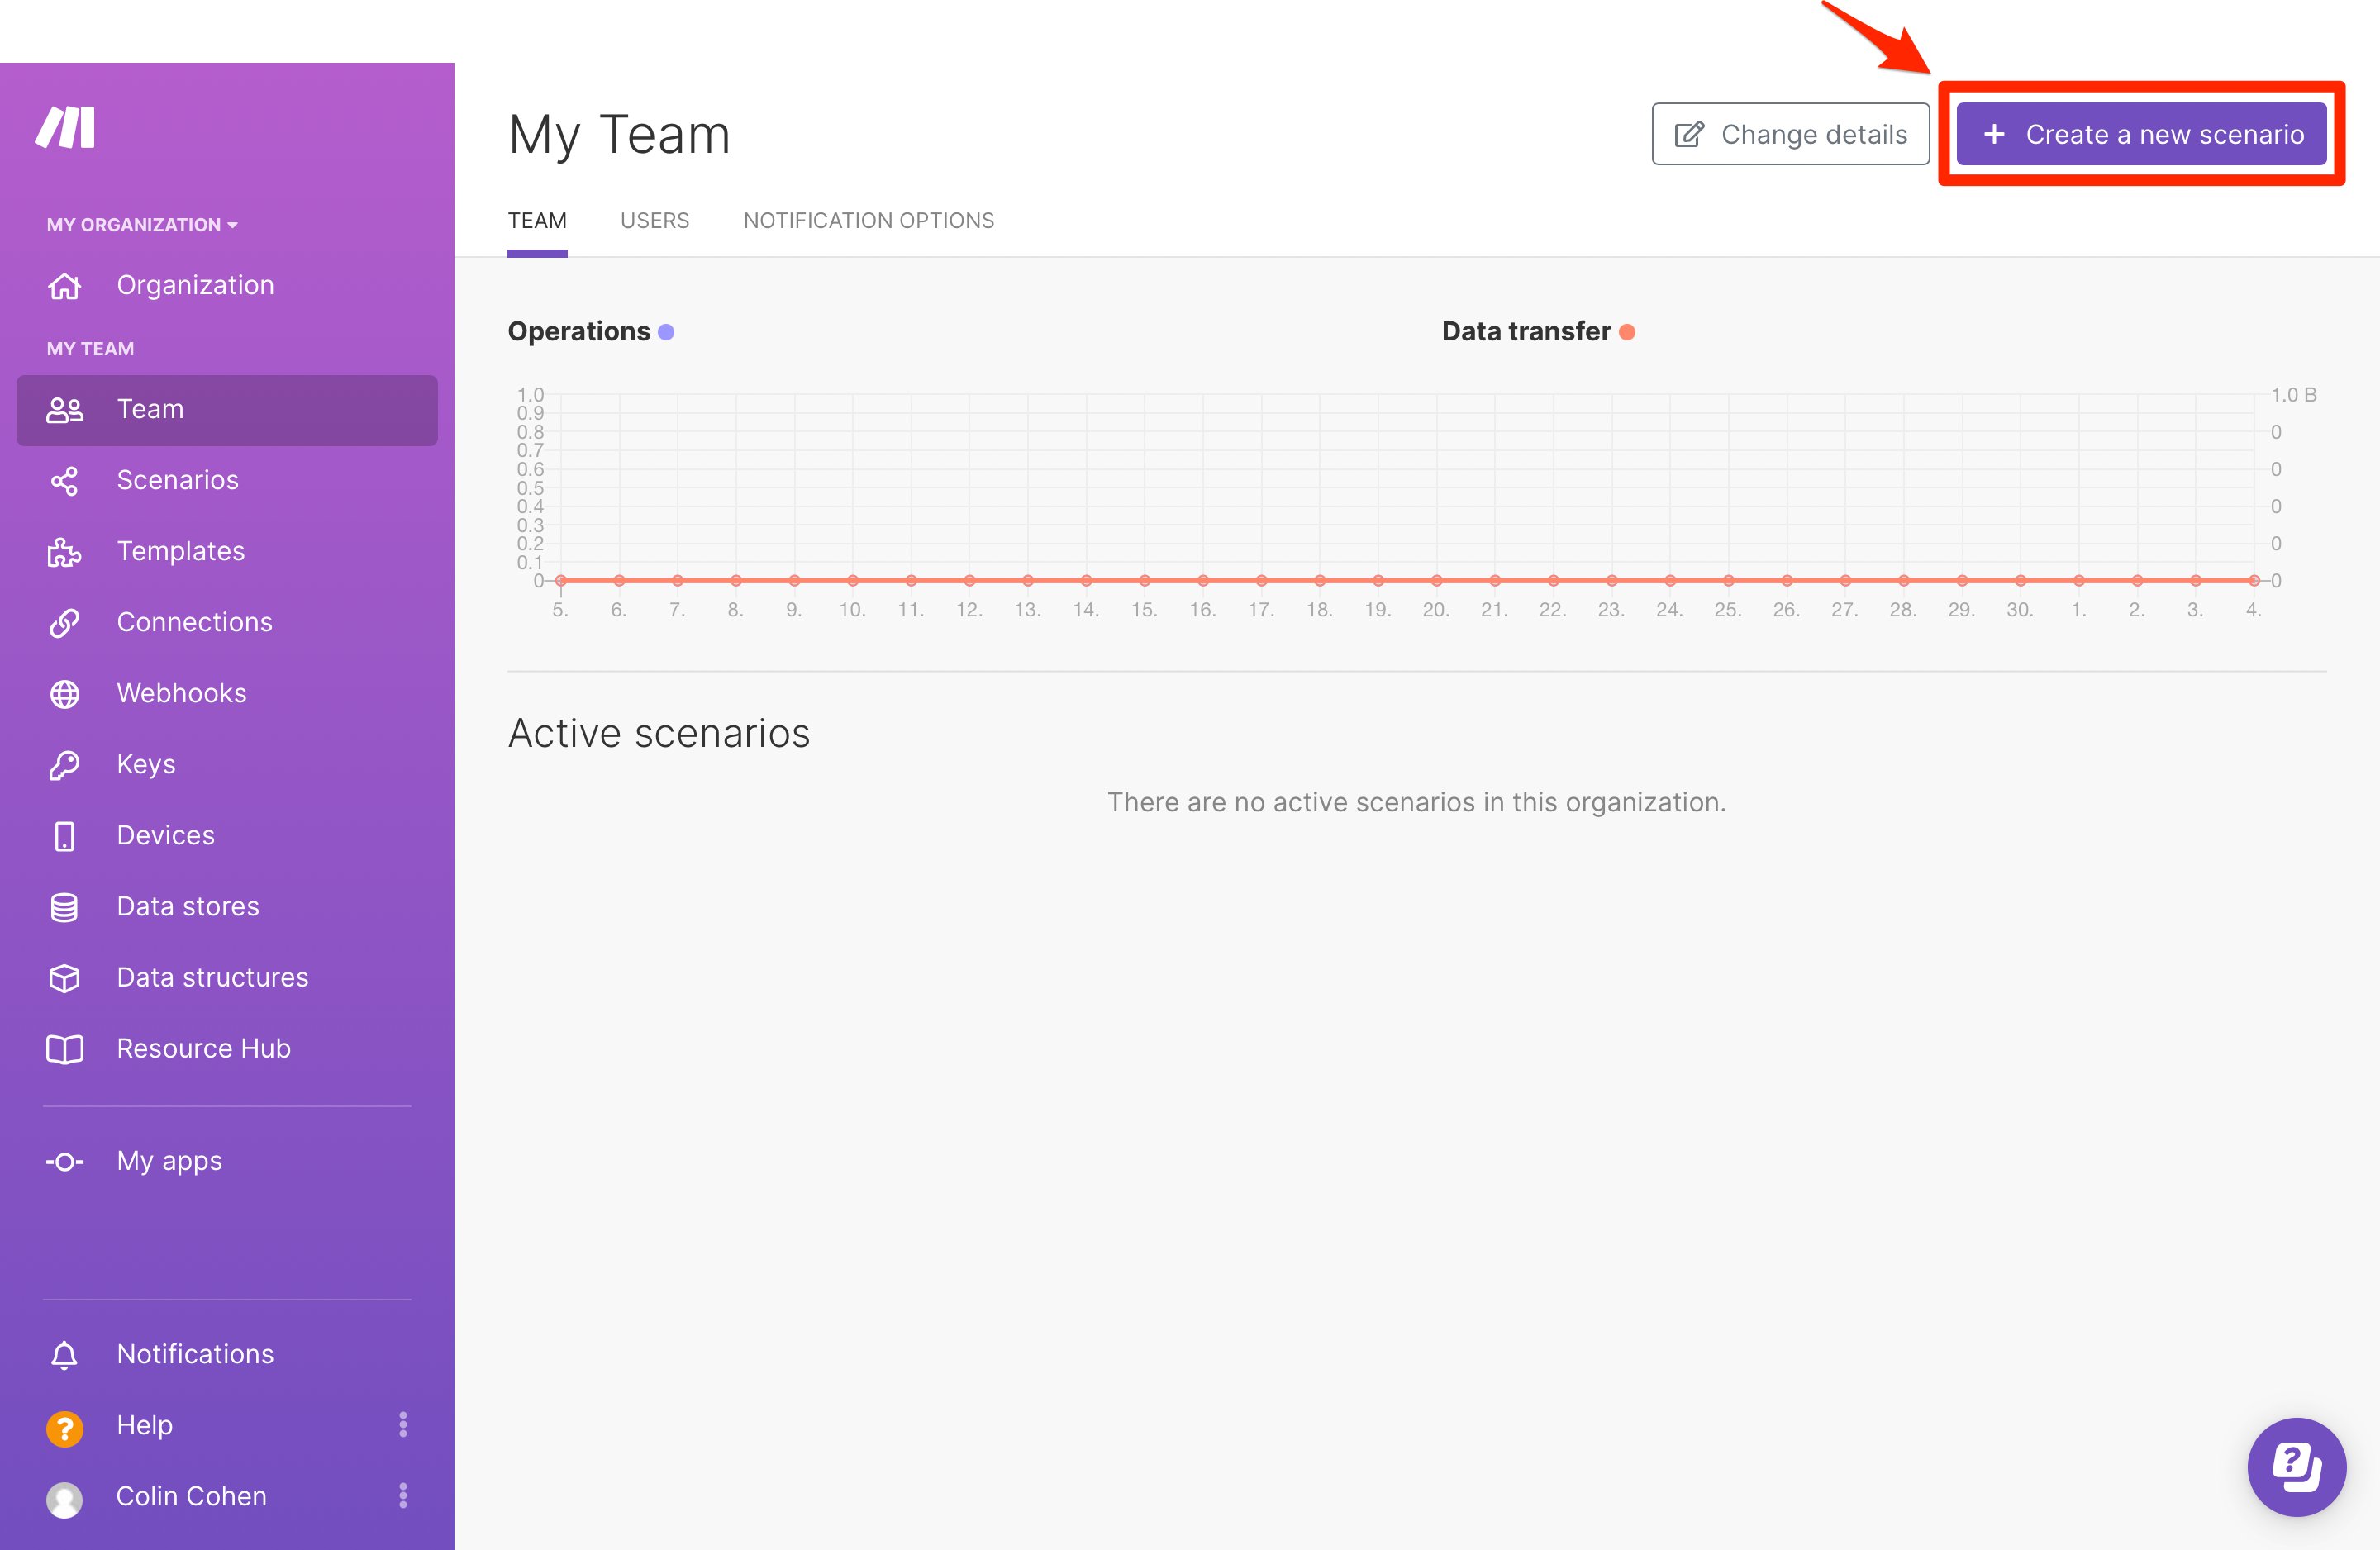
Go to your Make.com dashboard and click + Create a new scenario:
-
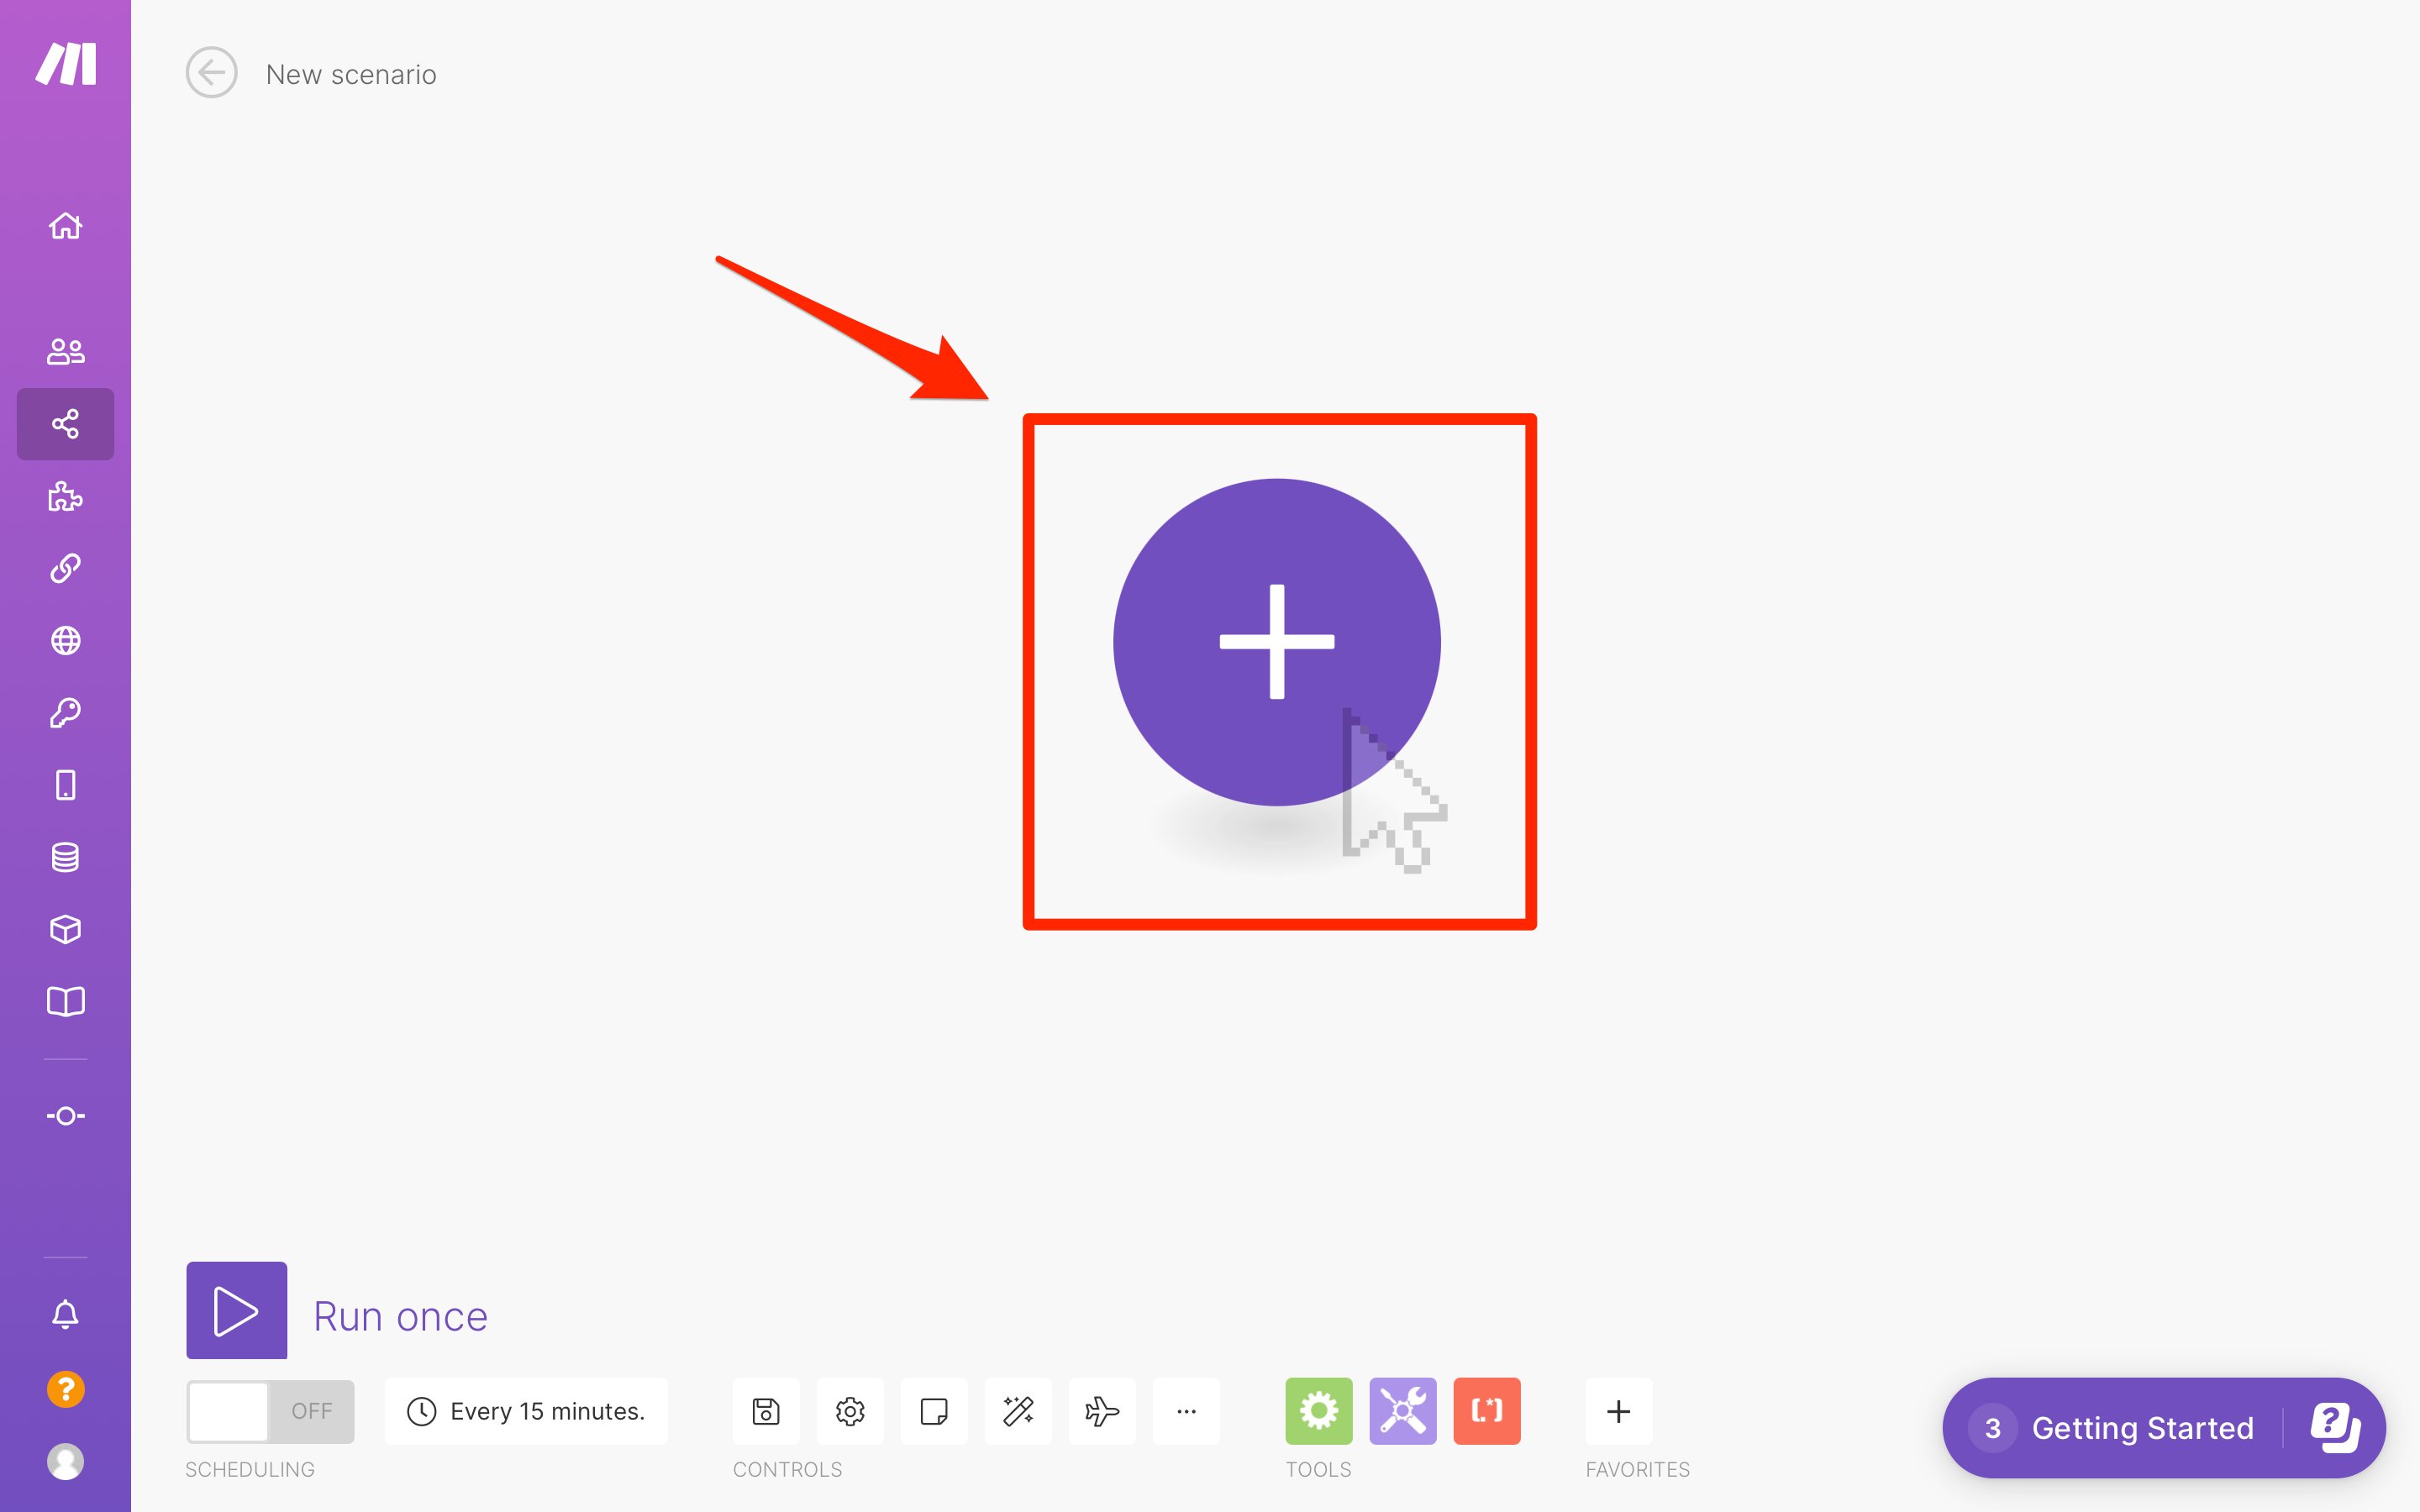
On the New scenario page, click +:
-
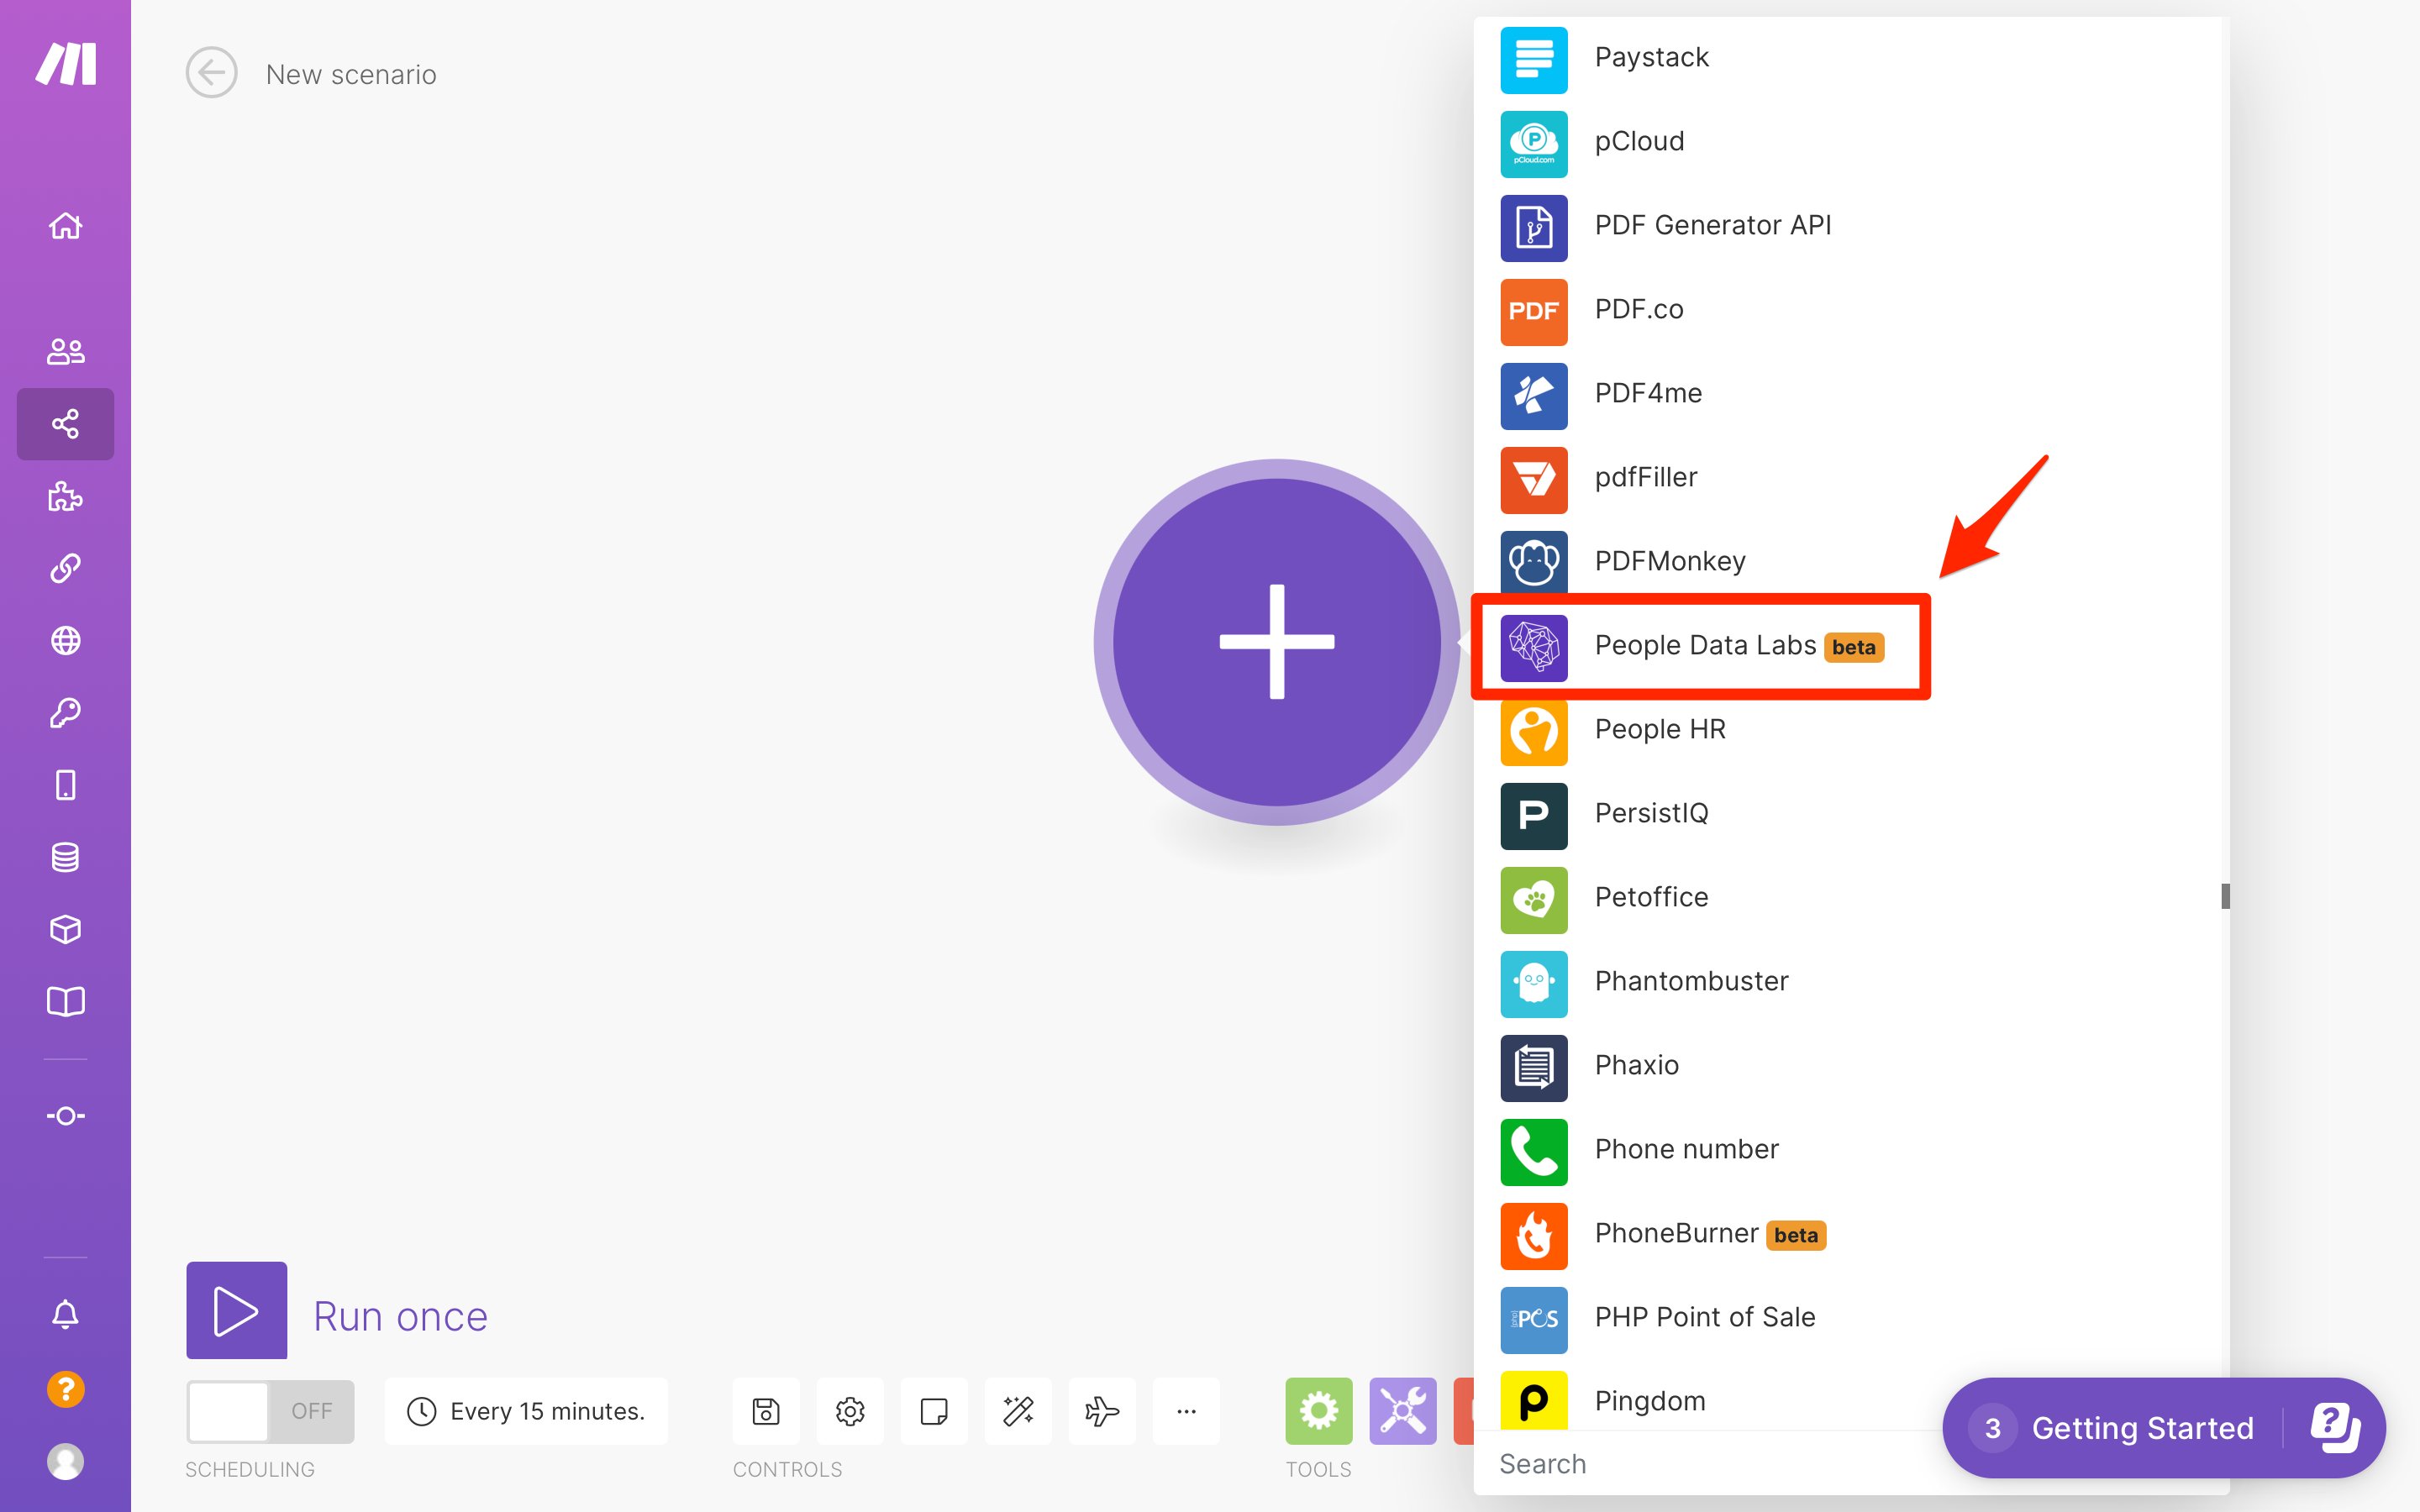
From the list of available apps, select People Data Labs:
-
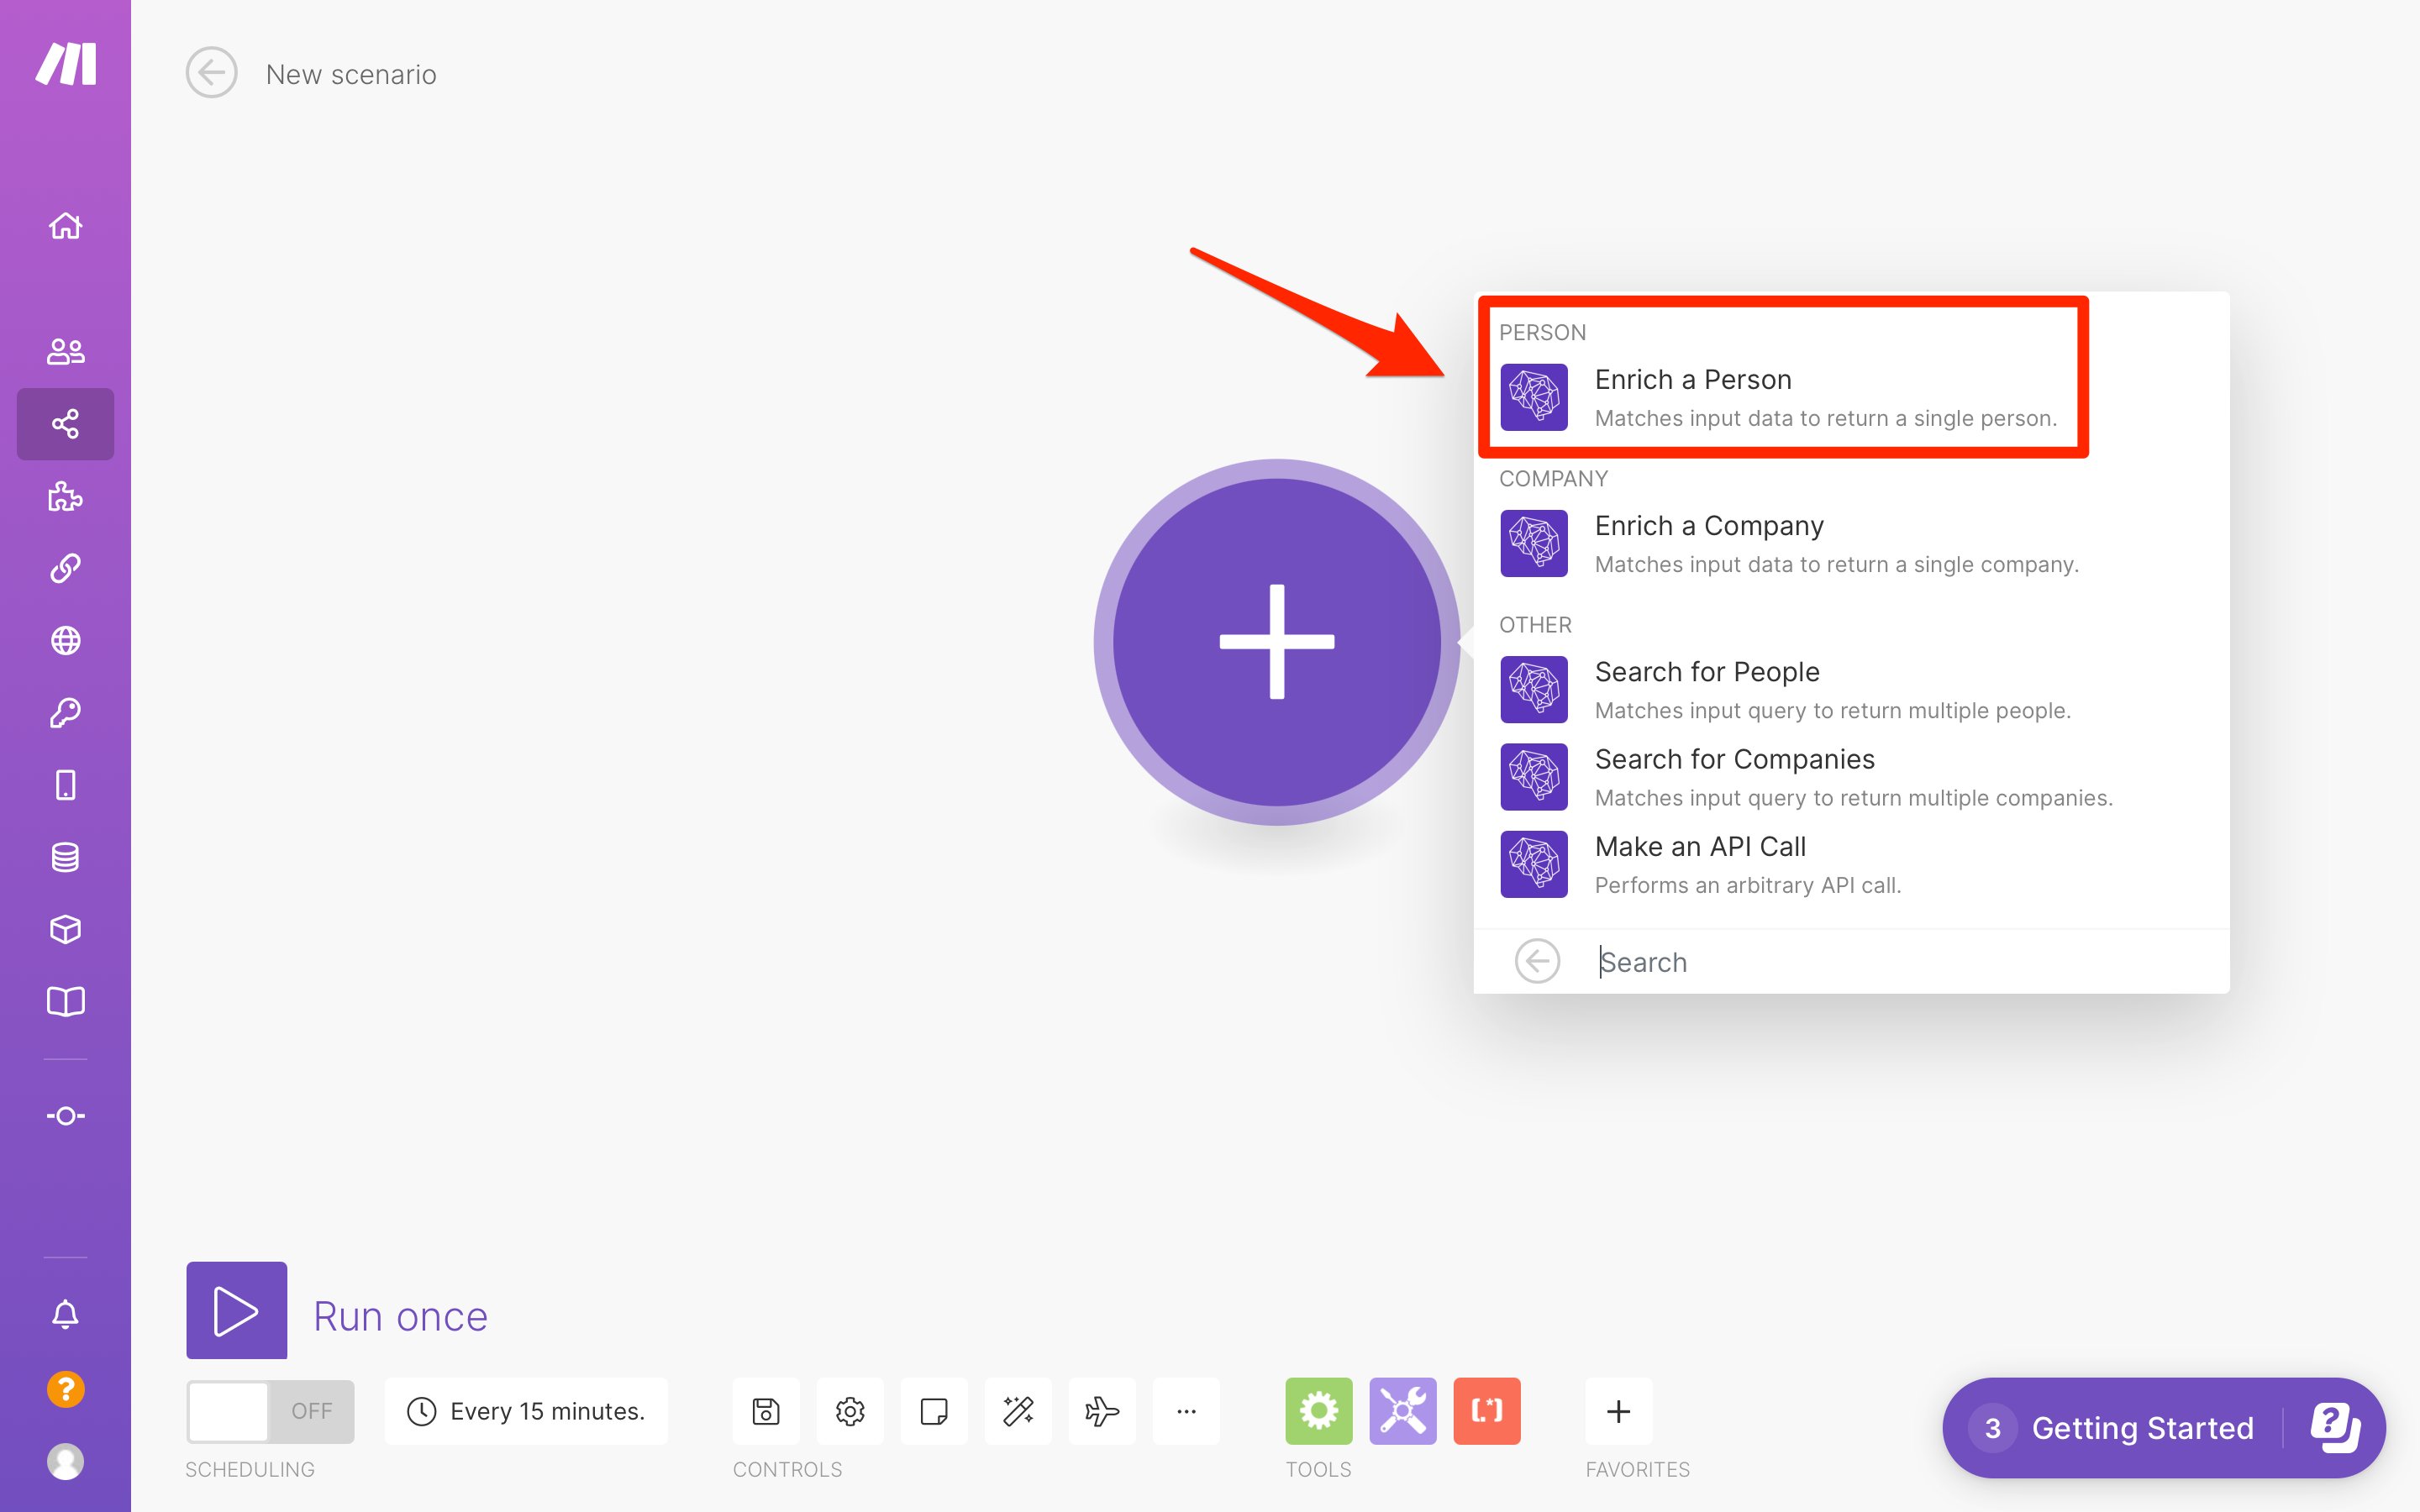
In this tutorial, we are going to use the Person Enrichment API. So select Enrich a Person:
-
If you have never created a PDL connection in Make.com, you will need to create one by clicking Add:
Then enter a name for the Connection name and your PDL API key in API Key:
 Next click Save.
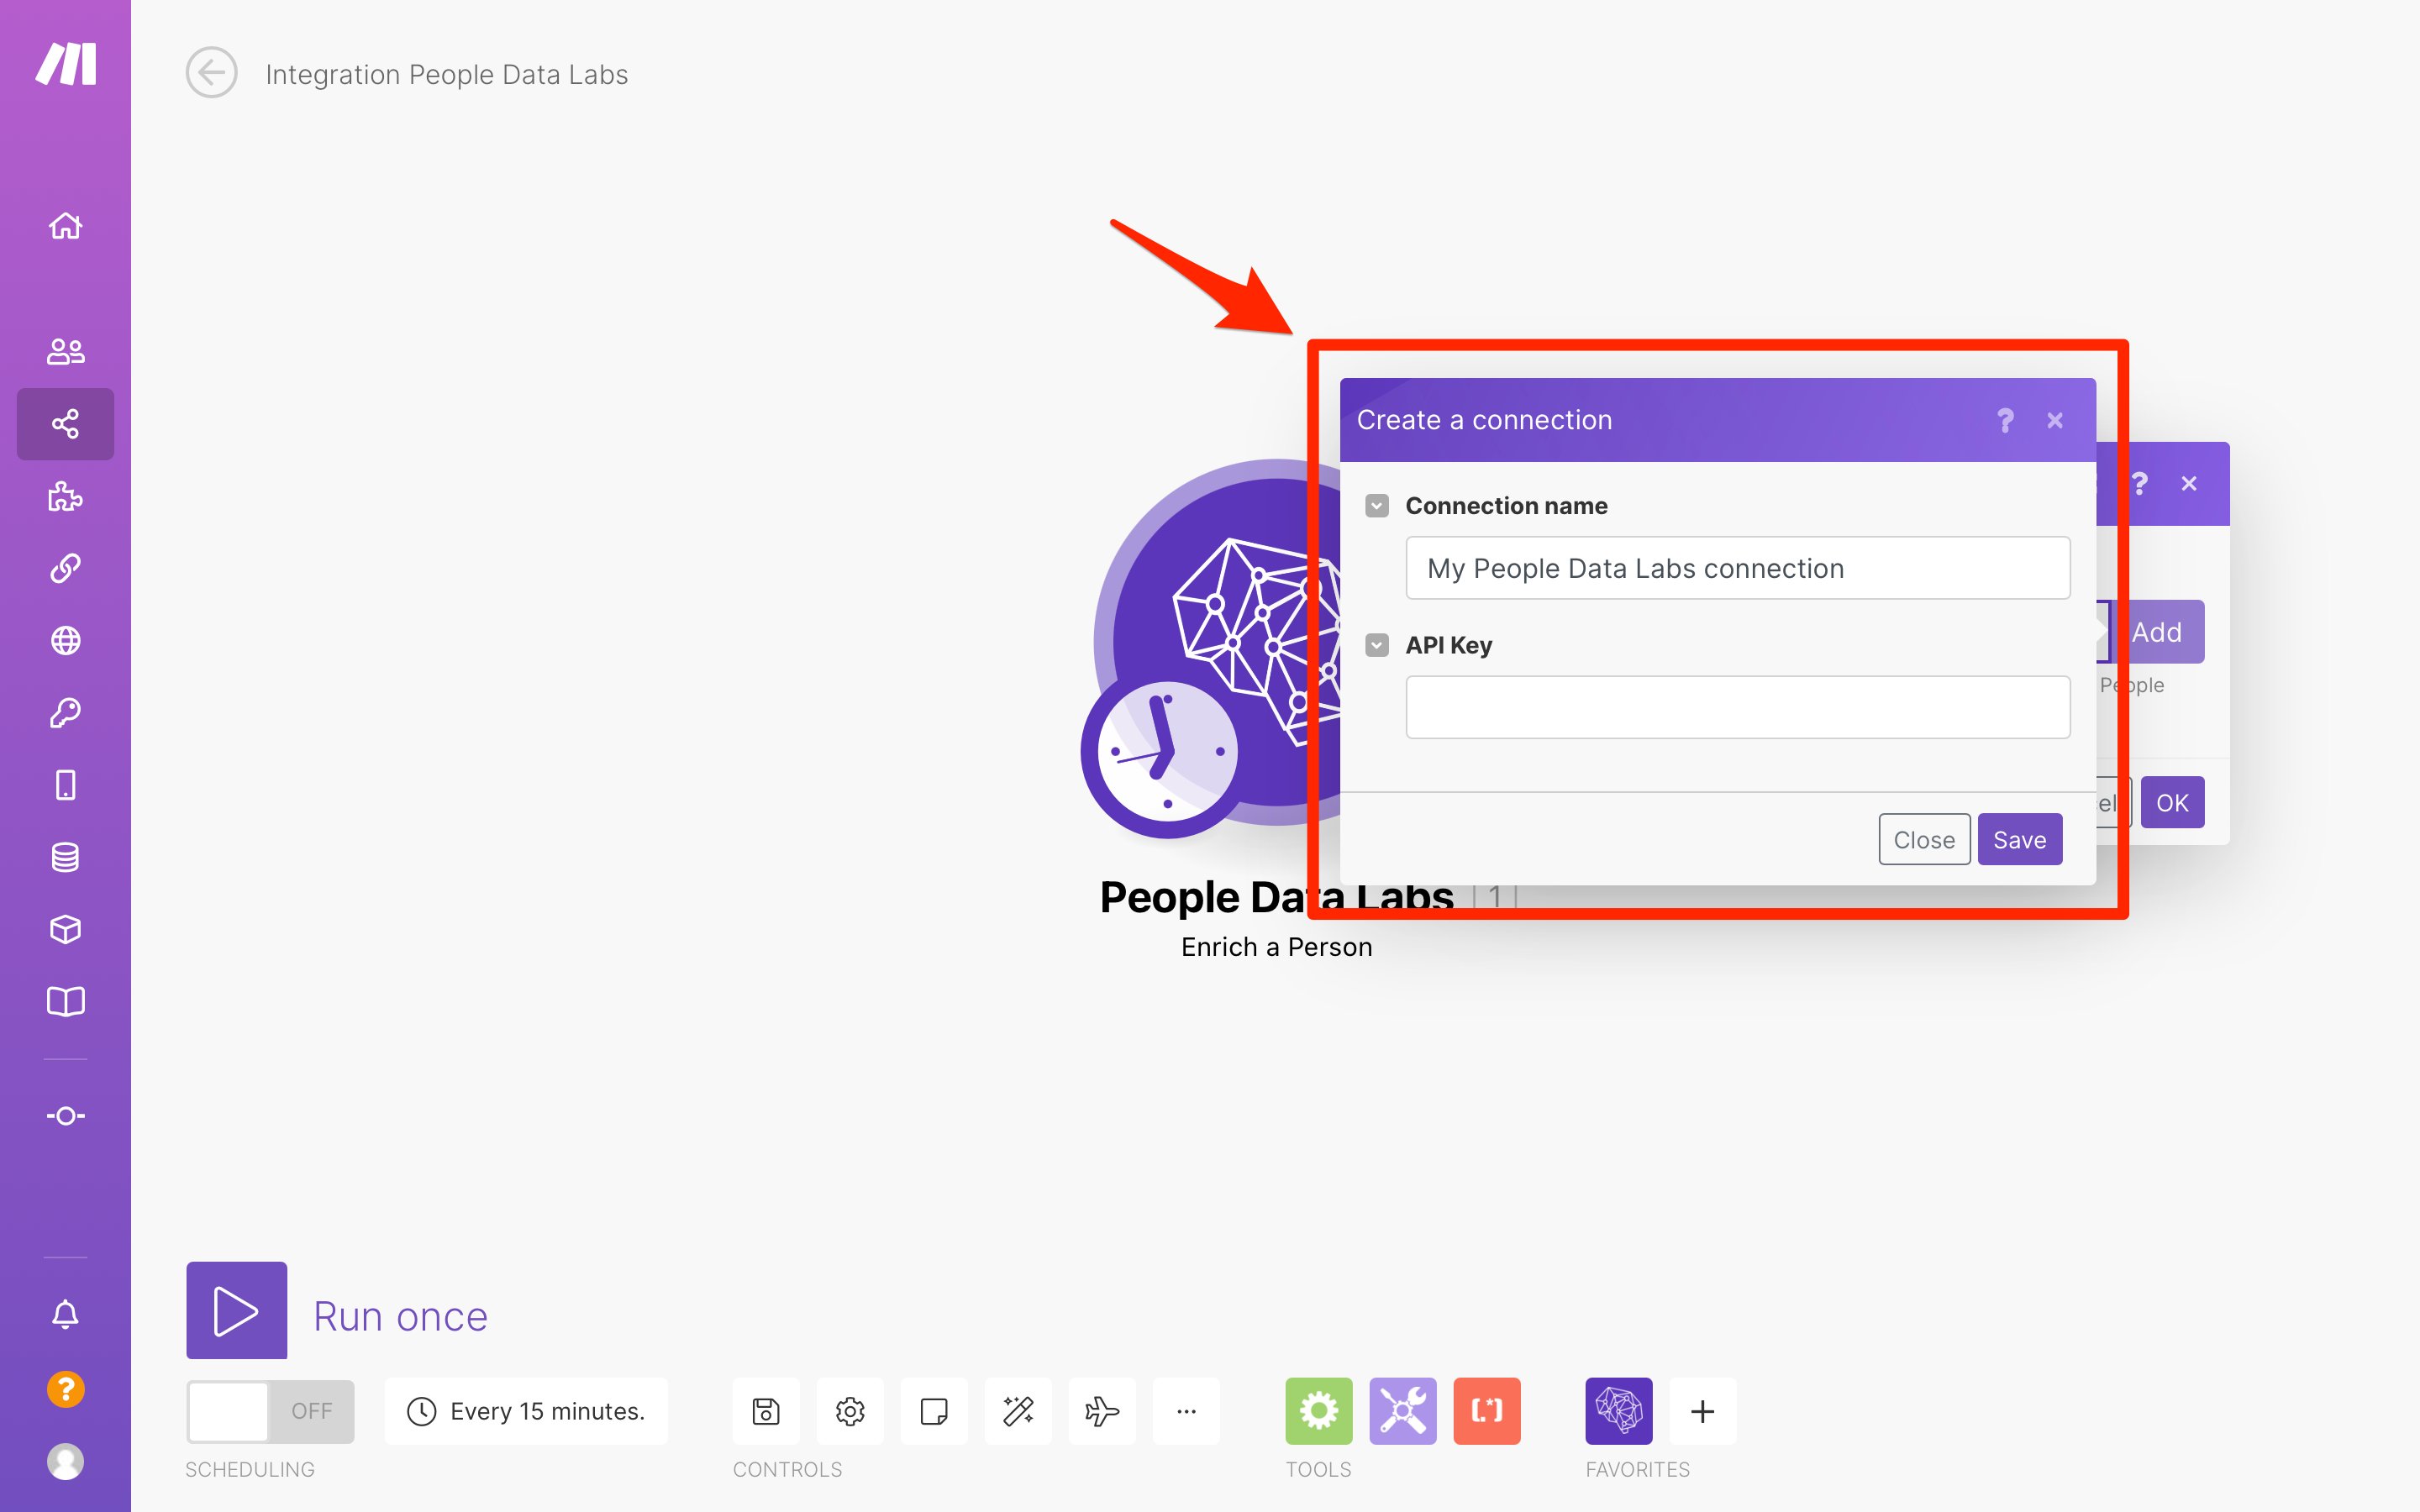
-
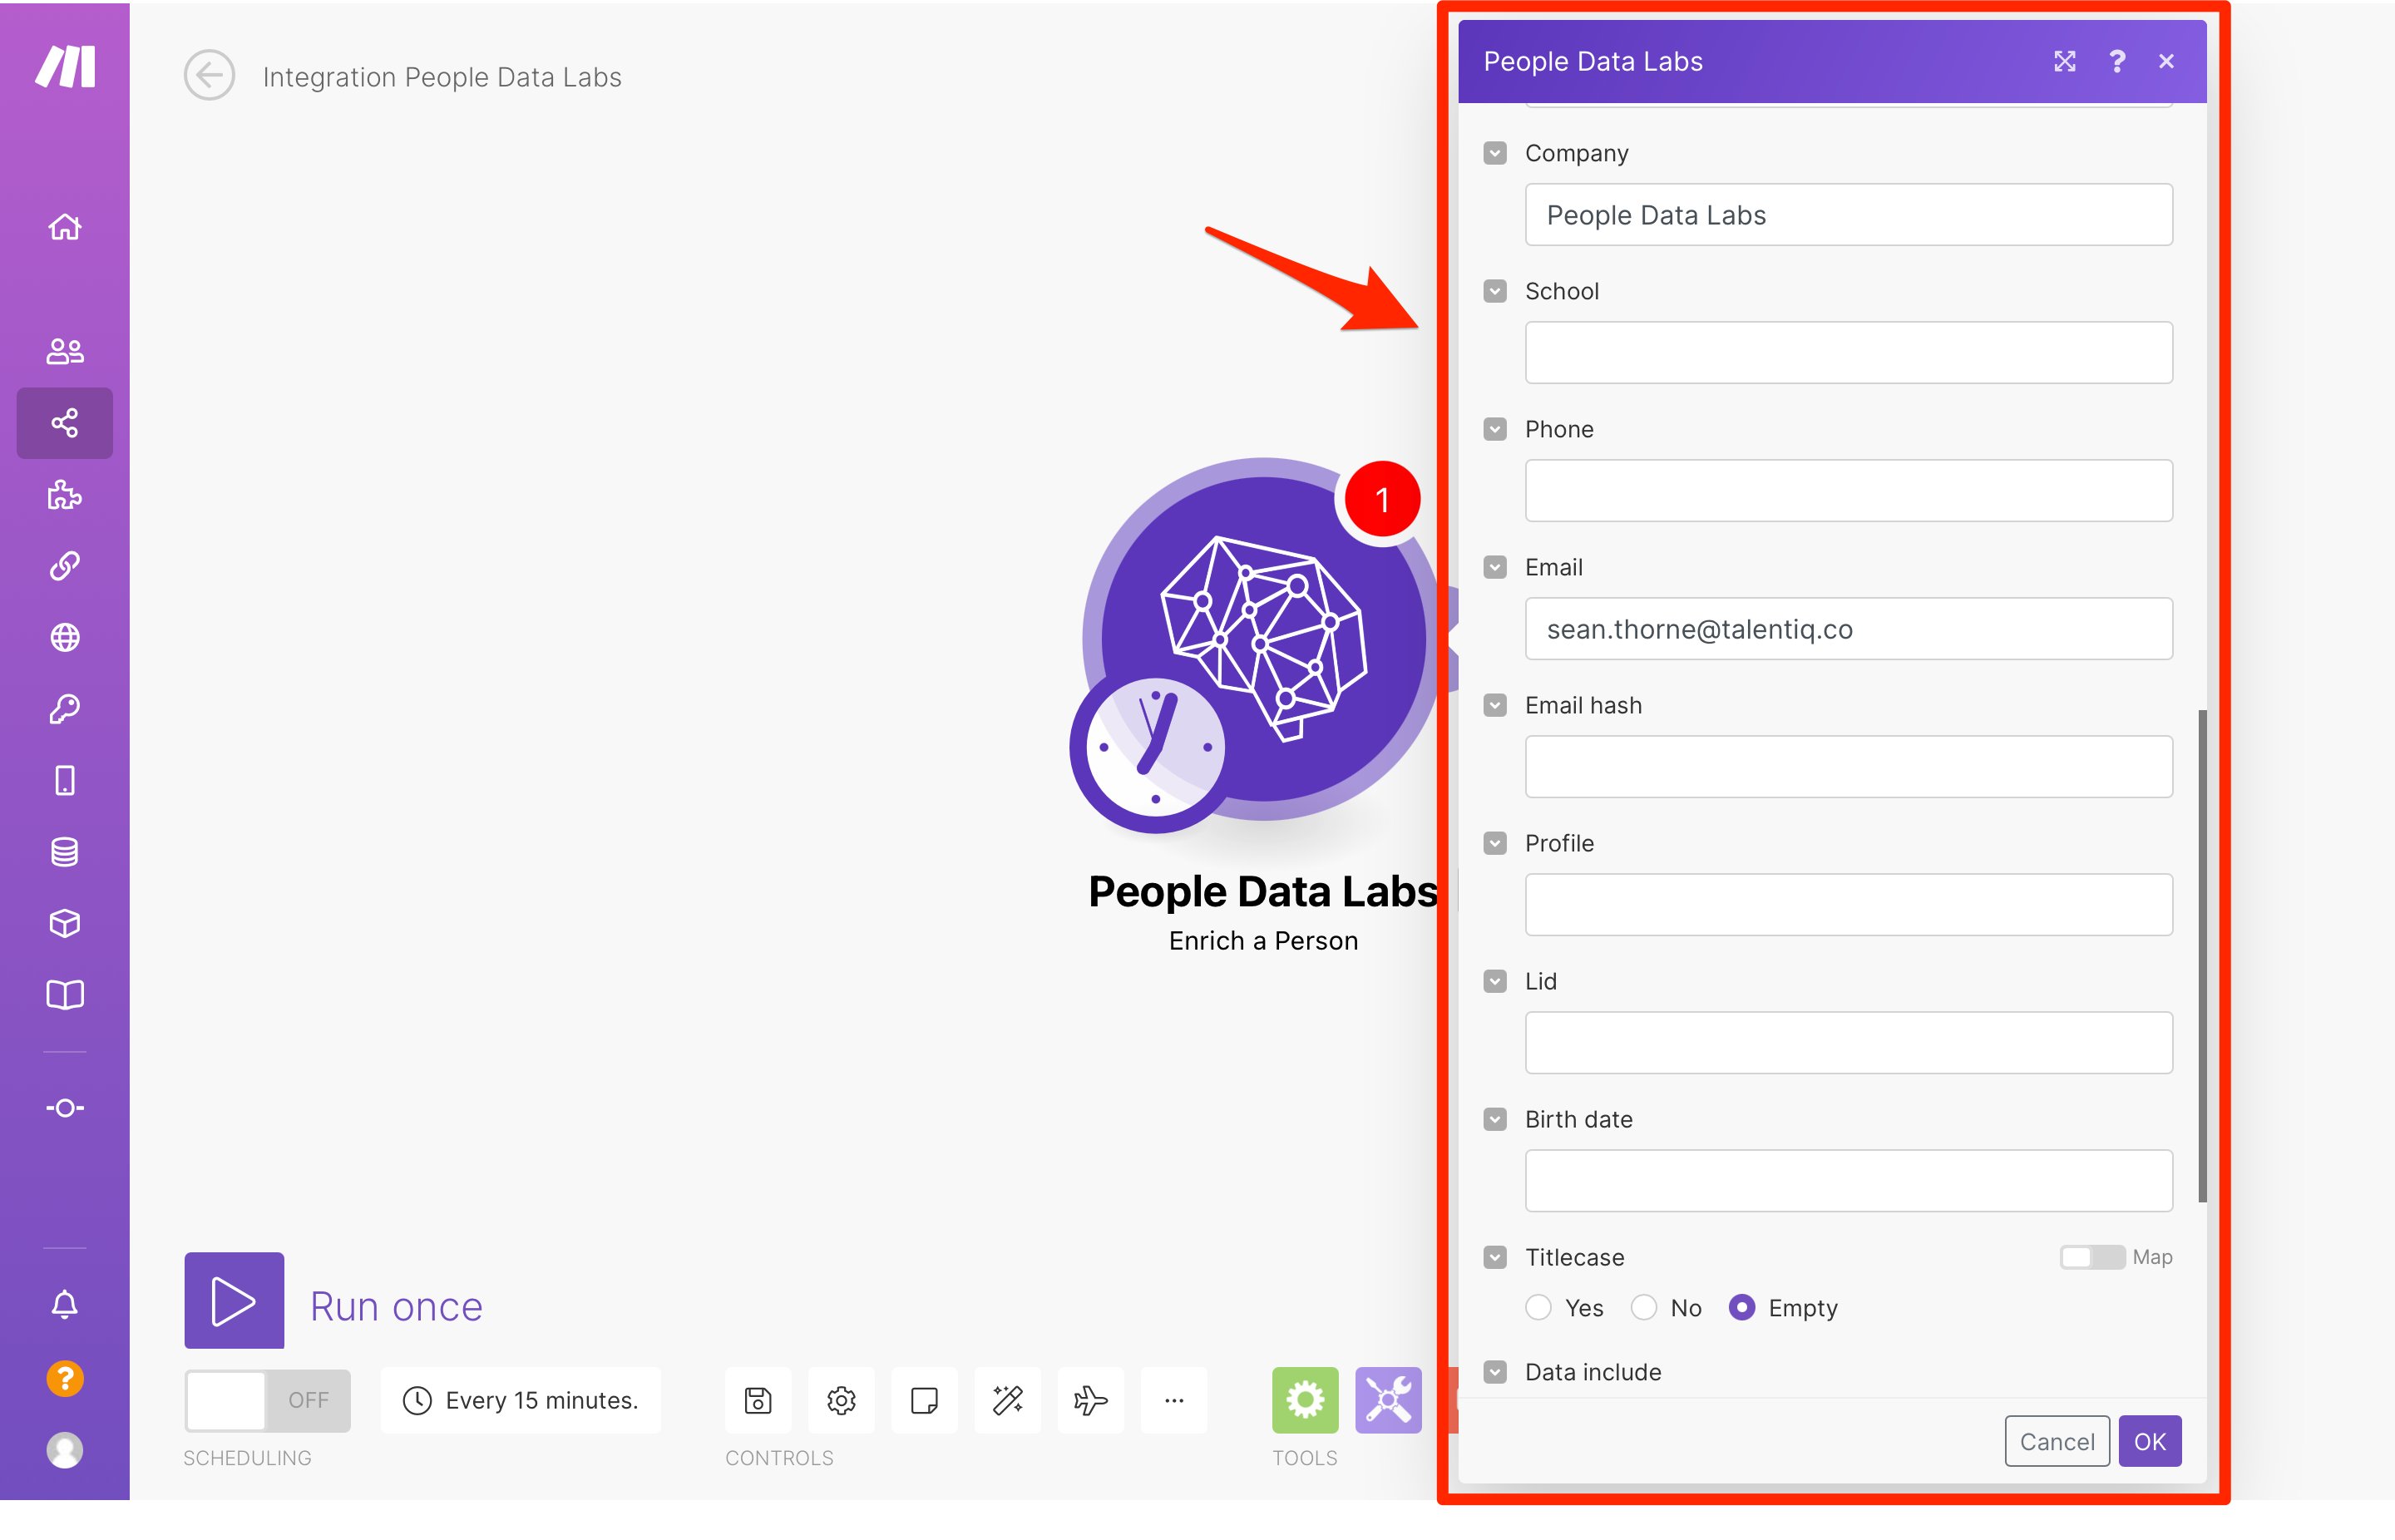
Enter data for the person that you want to enrich:
You can enter the following fields:
How To Authenticate Our APIs Within a Make.com Scenario
To authenticate our APIs within a Make.com scenario, do the following:
Related topics
How To Authenticate Our APIs Within a ZapMake.com IntegrationZapier IntegrationData UpdatesHow To Sign Up for a Make.com account